When I visited
Heritage Salvage in
Petaluma a few weeks ago, I picked up several hundred square feet of reclaimed
redwood tongue and groove flooring material. On Saturday and Sunday, Cindy and I prepared this wood for attachment to the small curved
glulam beams. When you look up while on the porch or in the utility room, you will see these boards. Here is a pic of 4 boards before preparation - gray, weathered and dirty.

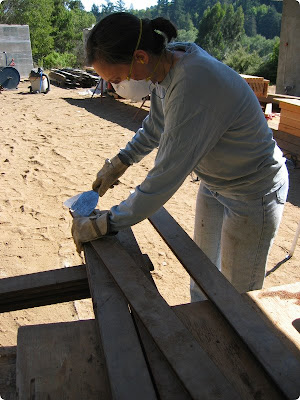
Excessive dirt was scraped off with a
putty knife.
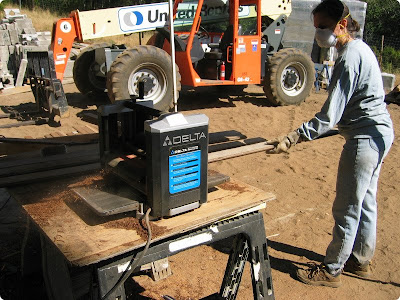
The boards were run through a
planer to remove about 1/32 inch.
The tongues and grooves were scraped and brushed clean so that the boards will fit well together.

Finally, the boards were sanded with 120 grit
sandpaper.

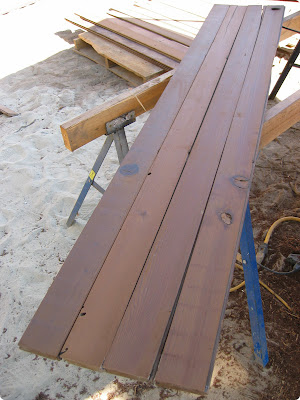
It was very rewarding seeing the grain and patterns pop out when the old weathered material was removed. The wood has a very tight grain pattern - new redwood material like this cannot be purchased anymore. Here is a pic of the same 4 boards after preparation.
On Monday, we prepared 16
rafters over the loft with an
eave support detail. This included notching the
I-joists and fastening plywood spacers and 2X4 stiffeners. We fastened these rafters to the
hangers on the curved glulam beam and set them in approximately the correct locations on the east
top plate. Here is a pic looking east towards the loft from the kitchen at the end of day 52.
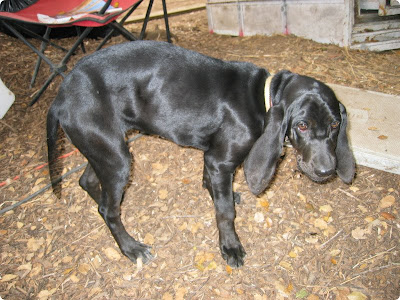
 Stella status:
She is getting bigger every day, but is still mostly paws and ears attached to a nose.
Thanks for reading. I appreciate your comments.


 Excessive dirt was scraped off with a putty knife.
 The boards were run through a planer to remove about 1/32 inch.
 The tongues and grooves were scraped and brushed clean so that the boards will fit well together.
 Finally, the boards were sanded with 120 grit sandpaper.
 It was very rewarding seeing the grain and patterns pop out when the old weathered material was removed. The wood has a very tight grain pattern - new redwood material like this cannot be purchased anymore. Here is a pic of the same 4 boards after preparation.
 On Monday, we prepared 16 rafters over the loft with an eave support detail. This included notching the I-joists and fastening plywood spacers and 2X4 stiffeners. We fastened these rafters to the hangers on the curved glulam beam and set them in approximately the correct locations on the east top plate. Here is a pic looking east towards the loft from the kitchen at the end of day 52.
 Stella status:
 Thanks for reading. I appreciate your comments.


 Green comment for today:
 Thanks for the lift Trevor!


 Posts
Posts